Audio transitions play a crucial role in creating professional-quality videos that captivate audiences and maintain engagement throughout the viewing experience. Whether you’re editing a wedding video, creating content for social media, or producing a documentary, mastering the art of audio fade-ins and fade-outs can significantly elevate the overall production value of your work.
Understanding Audio Fading Fundamentals
Audio fading represents a gradual increase or decrease in volume over a specified duration, creating smooth transitions that prevent jarring cuts and abrupt changes in sound levels. This technique serves multiple purposes: it eliminates unwanted clicks and pops, creates emotional impact, and provides seamless transitions between different audio segments or scenes.
Professional video editors recognize two primary types of audio fades: fade-ins, which gradually increase volume from silence to the desired level, and fade-outs, which progressively decrease volume until reaching complete silence. These techniques work together to create polished, broadcast-quality audio that enhances viewer experience.
Essential Tools for Audio Fading
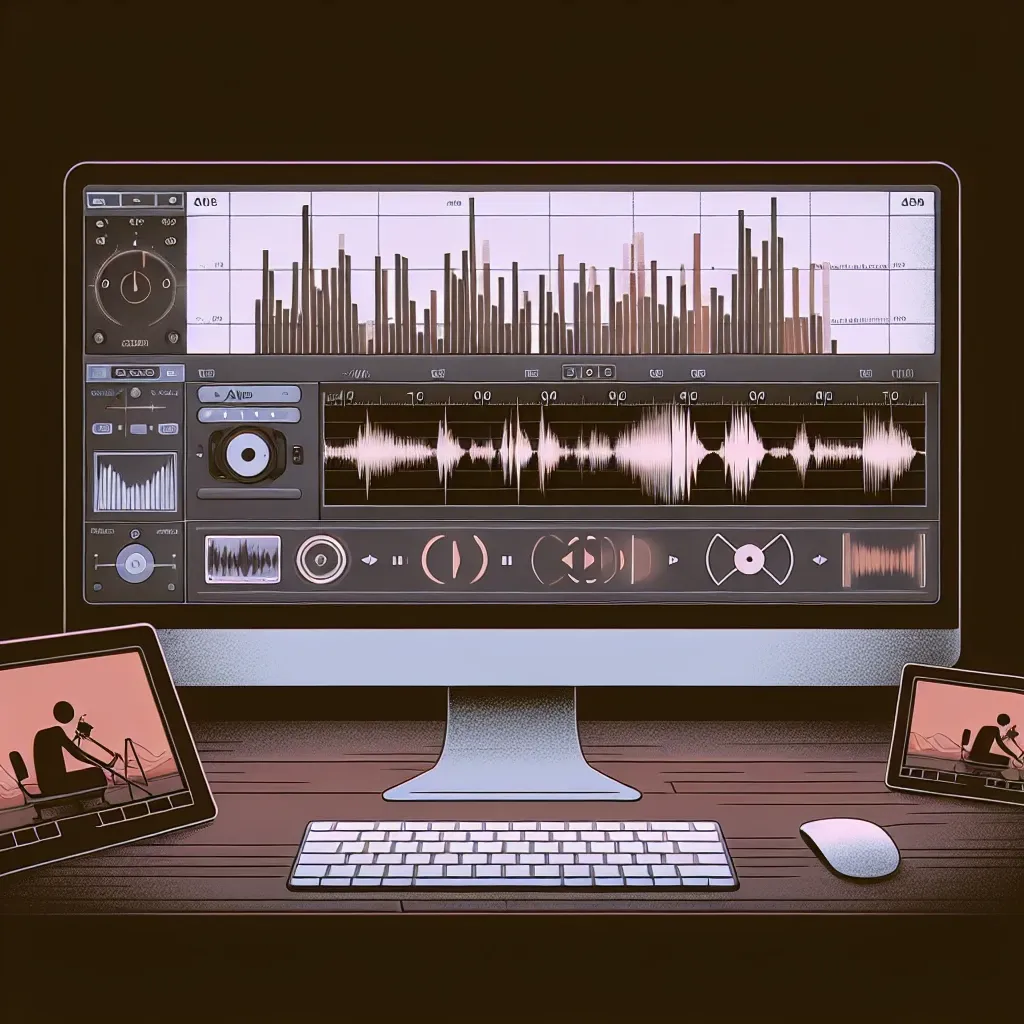
Modern video editing software provides various approaches to implementing audio fades, each offering different levels of control and precision. Popular professional applications include Adobe Premiere Pro, Final Cut Pro, DaVinci Resolve, and Avid Media Composer, while accessible options like iMovie, Filmora, and OpenShot cater to beginners and intermediate users.
Software-Specific Approaches
Each editing platform implements audio fading through slightly different methods, though the underlying principles remain consistent. Most professional applications offer both automatic fade options and manual keyframe-based control, allowing editors to fine-tune transitions according to specific project requirements.
Adobe Premiere Pro users can apply fades through the Effects panel or by manipulating audio keyframes directly on the timeline. Final Cut Pro provides similar functionality through its blade tool and volume adjustments, while DaVinci Resolve offers comprehensive audio editing capabilities within its Fairlight page.
Step-by-Step Implementation Process
Basic Fade-In Creation
Begin by selecting your audio clip within the timeline and locating the volume line that runs horizontally across the waveform. Position your playhead at the desired starting point for the fade-in effect, typically at the beginning of the clip or where you want the audio to begin emerging.
Create a keyframe by clicking on the volume line, then move slightly forward in time and create a second keyframe at your target volume level. The software will automatically interpolate between these points, creating a smooth volume increase that can be adjusted by dragging keyframes or modifying their timing.
Advanced Fade-Out Techniques
Fade-outs require similar methodology but work in reverse, starting from full volume and gradually decreasing to silence. Position keyframes strategically to control the fade duration and curve, considering the emotional impact you want to achieve. Longer fades create subtle, gentle transitions, while shorter fades provide more dramatic effects.
Professional editors often employ custom curve adjustments to create non-linear fades that better match musical phrasing or dramatic timing. Exponential curves can create more natural-sounding fades that mirror how human perception processes volume changes.
Creative Applications and Best Practices
Musical Synchronization
When working with music tracks, align your fade points with natural musical phrases, beats, or measures to create transitions that feel organic and intentional. This approach prevents awkward cuts that interrupt musical flow and maintains the emotional continuity of your soundtrack.
Consider the genre and style of music when determining fade duration. Classical pieces often benefit from longer, more gradual transitions, while electronic music might require shorter, more precise fades that match the rhythmic structure.
Dialogue and Voiceover Integration
Audio fading becomes particularly important when mixing dialogue with background music or ambient sound. Use subtle fade-ins to introduce background elements without overwhelming speech, and implement fade-outs to remove distracting elements during important dialogue moments.
The industry-standard practice involves creating “ducking” effects where background audio automatically fades down when dialogue is present, then fades back up during pauses. This technique ensures speech clarity while maintaining atmospheric continuity.
Technical Considerations and Optimization
Timing and Duration Guidelines
Professional video production typically employs fade durations ranging from one to five seconds, depending on the content type and desired effect. News broadcasts and corporate videos often use shorter fades (1-2 seconds) to maintain pace, while cinematic productions may employ longer transitions (3-5 seconds) for dramatic effect.
Consider your target audience and platform when determining fade timing. Social media content generally benefits from quicker transitions due to shorter attention spans, while long-form content allows for more gradual, nuanced audio treatment.
Audio Quality Preservation
Maintain high audio quality throughout the fading process by working with uncompressed or minimally compressed source files. Apply fades before final compression and export to prevent artifacts that can occur when processing already-compressed audio.
Monitor your audio levels using professional meters and headphones to ensure fades sound natural across different playback systems. What sounds smooth on studio monitors might reveal problems when played through smartphone speakers or laptop audio.
Common Mistakes and Solutions
Avoiding Abrupt Transitions
One frequent error involves creating fades that are too short or steep, resulting in noticeable volume jumps that distract viewers. Always preview your work on multiple playback systems and adjust fade curves to ensure smooth transitions across all devices.
Another common issue occurs when fade points don’t align with natural audio content, such as cutting off words mid-syllable or interrupting musical phrases. Take time to identify appropriate fade locations that respect the source material’s natural structure.
Balancing Multiple Audio Elements
Complex projects often involve multiple audio tracks requiring coordinated fading. Create a mixing strategy that prioritizes the most important audio elements while using fades to manage secondary tracks. This approach prevents audio competition and maintains clarity throughout your production.
Advanced Techniques for Professional Results
Crossfading Between Sources
Crossfading involves simultaneously fading out one audio source while fading in another, creating seamless transitions between different musical pieces, dialogue segments, or ambient sounds. This technique requires careful timing and level matching to avoid volume dips or peaks during the transition.
Professional editors often use logarithmic or exponential crossfade curves rather than linear transitions, as these better match human auditory perception and create more natural-sounding results.
Automation and Consistency
For projects requiring multiple similar fades, create custom presets or templates that ensure consistency across all transitions. Most professional editing software allows you to save fade settings and apply them quickly to other clips, maintaining uniform audio treatment throughout your project.
Consider using audio automation features that can automatically apply fades based on predetermined criteria, such as clip boundaries or silence detection. This approach saves time while maintaining professional standards.
Platform-Specific Optimization
Different distribution platforms have varying audio requirements and playback characteristics that influence optimal fade implementation. YouTube and social media platforms often compress audio aggressively, requiring slightly longer fade durations to compensate for potential artifacts.
Broadcast television maintains stricter audio standards, necessitating precise fade timing and level control to meet technical specifications. Understanding your target platform’s requirements helps optimize your audio treatment for the best possible viewer experience.
Future-Proofing Your Audio Skills
As video content continues evolving across platforms and technologies, audio fading techniques remain fundamental skills that transcend specific software or hardware limitations. Focus on understanding the underlying principles rather than memorizing button sequences, as this knowledge transfers across different editing environments.
Stay updated with emerging audio technologies and standards, including spatial audio and immersive sound formats that may require adapted fading techniques. The core principles remain consistent, but implementation methods continue advancing with technological progress.
Mastering audio fade techniques requires practice, patience, and attention to detail, but the results significantly enhance your video production quality. Whether you’re creating content for entertainment, education, or marketing purposes, smooth audio transitions help maintain viewer engagement and create professional-quality results that stand out in today’s competitive media landscape.